Home / Modeling / Drawing Process / How to Create Primitives / Wire Bodies / Arc
Arc
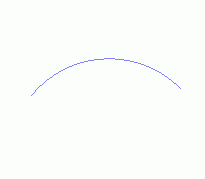
Create an arc (wire body).
Procedure
There are 3 methods to create arcs.
-
Method 1: By specifying 3 points
-
Method 2: By Specifying center
-
Method 3: By Specifying angle
Method 1: By specifying 3 points
-
On the [Model] tab, go to 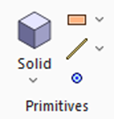 and click ▼ at the side of [Wire Body] and click ▼ at the side of [Wire Body]  . .
Select [Arc [Specify 3 Points]]  on the submenu. on the submenu.
-
Click the place to set the startpoint on the .
(Alternatively enter the coordinates in the , and click  .) .)
|
|
-
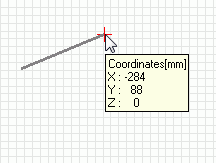
Click and set the start point on the modeling window.
(Alternatively enter the coordinates in the parameter input dialog box, and click .)
|
|
|
-
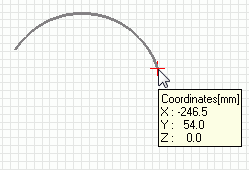
Click and set the endpoint on the modeling window.
(Alternatively enter the coordinates in the parameter input dialog box, and click  .) .)
-
If [Continuous] on the parameter input dialog box is selected, the endpoint will automatically be set on the place for the startpoint of the next arc for continuous drawing.
-
Right click to exit.
|
|
Method 2 (specify center)
-
On the [Model] tab, go to and click ▼ at the side of [Wire Body ] . ] .
Select [Arc [Specify Center]] on the submenu.
-
Click and set the center on the .
(Alternatively enter the coordinates in the , and click .)
|
|
|
-
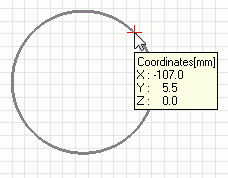
Click the place to set the startpoint on the modeling window.
(Alternatively enter the coordinates in the parameter input dialog box, and click .)
|
|
-
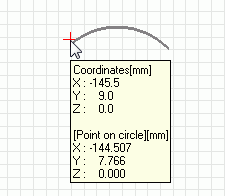
Click and set the endpoint on the modeling window.
(Alternatively enter the coordinates in the parameter input dialog box, and click .)
-
Right click to exit.
|
|
Method 3
-
On the [Model] tab, go to and click ▼ at the side of [Wire Body] .
Select [Arc [Specify Angle]]  on the submenu. on the submenu.
-
Click and set the center on the .
(Alternatively enter the coordinates in the , and click .)
|
|
|
-
Click the place to set the startpoint on the modeling window.
(Alternatively enter the coordinates in the parameter input dialog box, and click .)
|
|
-
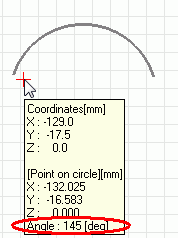
Click and set the endpoint on the modeling window.
(Alternatively enter the angle in the parameter input dialog box, and click .)
-
The entered angle value will be indicated at Angle on the tooltip.
-
If the angle is positive, the arc will be created clockwise looking towards the positive Z direction. If negative, it will be counterclockwise.
-
Right click to exit.
|
|


