Home / Modeling / How to Use Model DB
How to Use Model DB
If you register models created for a project in Model DB, they can be shared with other projects.
It makes it easy to import them into the modeling window.
Procedure for each operation is explained below.
How to Create Model DB
-
Go and click the [File] tab  and select [General Settings] and select [General Settings]  . .
|
|
-
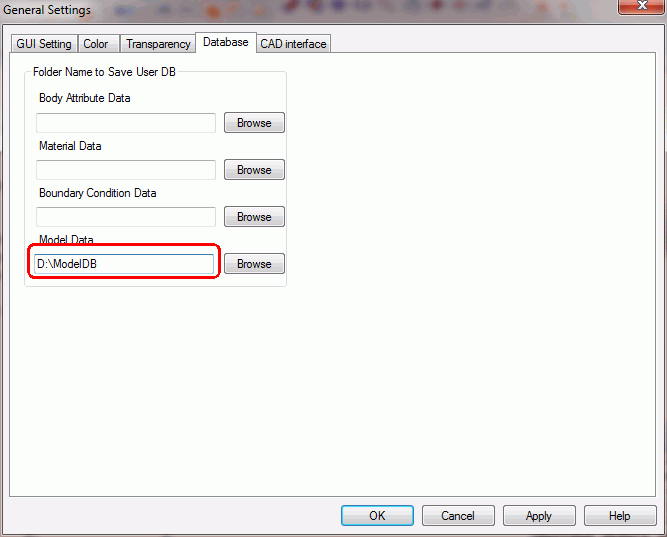
In the [General Settings] dialog box, click the [Database] tab and specify the folder to save the model data.
-
A file named UserV2.mdl is created in the folder.
The model data will be saved in that file.
|
|
How to register model data in the Model DB
-
On the modeling window, select the bodies you want to register.
|

|
-
Go to the Auxiliary group  on the [Model] tab, and click [Register in Model DB] on the [Model] tab, and click [Register in Model DB]  . .
-
If the model data has body attributes, material properties and boundary conditions,
they will be registered in each segment of the user DB automatically.
|
|
-
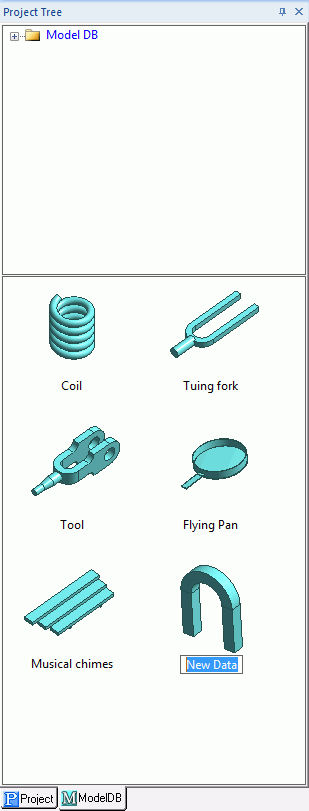
Enter the model data name on the Model DB tree.
|
|
How to import model data
-
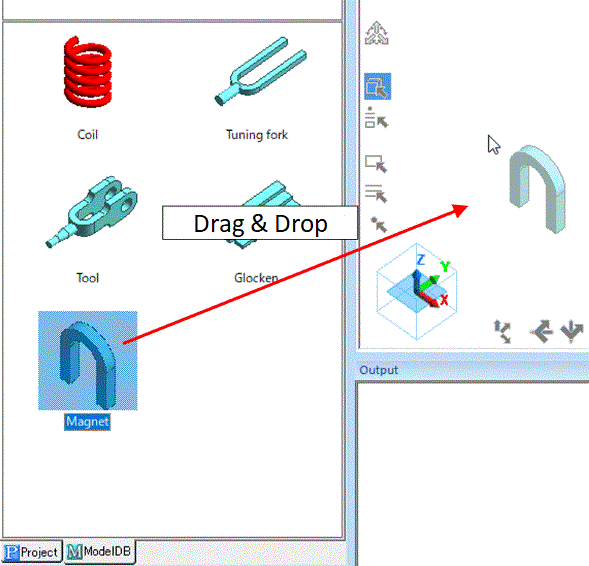
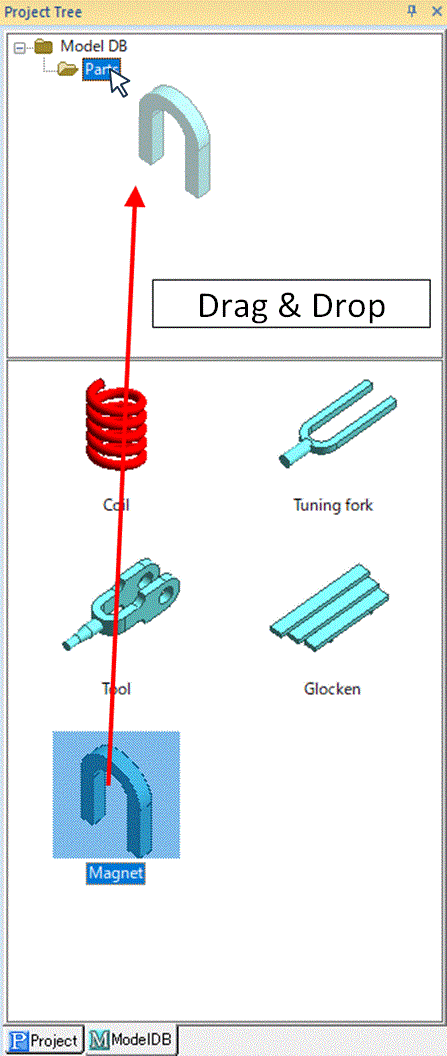
Simply drag and drop the thumbnail into the modeling window.
|
|
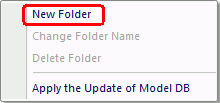
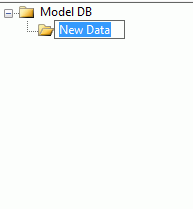
How to create new folder
-
Select a folder you want to create a new folder in.
|
|
-
On the right-click menu, click [New Folder] .
|
|
-
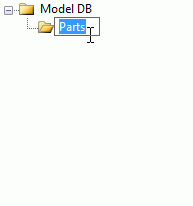
Enter the folder name on the Model DB tree.
|
|
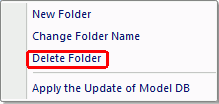
How to delete folder
-
Select the folder you want to remove.
|
|
-
On the right-click menu, click [Delete Folder] .
Alternatively press the <Delete> key.
|
|
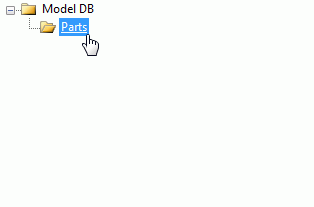
How to rename folder
-
Select the folder and click the label.
|
|
-
Enter the folder name on the Model DB tree.
|
|
How to remove model data
-
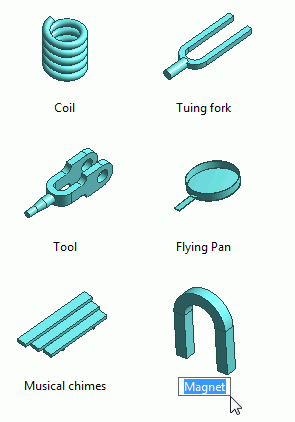
Select the thumbnail.
|
|
-
Press the <Delete> key.
|
|
How to rename model data
-
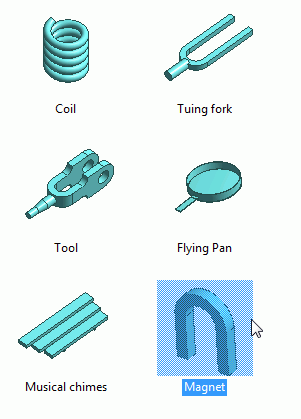
Select the thumbnail and click the label.
|
|
-
Enter the model data name on the Model DB tree.
|
|
How to move model data
-
Drag and drop the thumbnail onto the destination folder on the Model DB tree.
|
|


