Home / How to Set Body Attribute, Material Property and Boundary Condition / How to Set Boundary Condition
How to Set Boundary Condition
-
On the [Model] tab, go to

and switch the object type at  to a topology applicable for the boundary condition. to a topology applicable for the boundary condition.
|
|
-
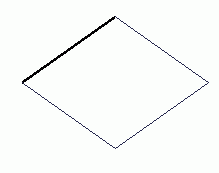
Select the suitable topologies.
-
The topology applicable for the boundary condition depends on the selected body type.
|
Body types |
Applicable topologies |
|
Vertex body |
Any vertex topologies constituting the body |
|
Wire body
(WireBody) |
Any edge topologies constituting the body |
|
Sheet body
Sheet body |
Any face topologies constituting the body |
|
Solid body
(SolidBody) |
Any face topologies constituting the body |
|
|
-
On the [Right Click] menu, click [Boundary Condition]
Alternatively, on the [Analysis Attribute] tab  , ,
click [Boundary Condition]  . .
|
|
|
-
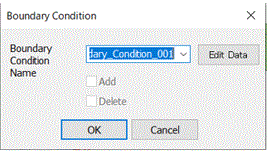
On the [Boundary Condition] dialog, enter Boundary Condition Name and click  . .
the names will show up on the name entry fields automatically. It will be like "Boundary Condition_xxx".
(xxx are numbers)
-
If just one boundary condition has been set on the selected body before, that name will show up.
If more than one boundary conditions has been set before or more than one topologies with each individual boundary condition are selected, the name entry field will be blank.
-
If "Add" is selected on the [Boundary Condition] dialog,
another boundary condition will be set in addition to the existing boundary condition.
If "Add" is not selected, the new setting will replace the existing setting.
-
To remove the boundary condition,
select [Delete] in the [Boundary Condition] dialog box, specify the boundary condition name you want to remove, and click [OK].
|
|
-
Set up the details of boundary condition.
Click  . The [Edit Boundary Condition] dialog box will show up. . The [Edit Boundary Condition] dialog box will show up.
Go through the tabs on the left side and set the required items.
The detail is explained at "Boundary Condition Tabs"
Select the suitable type at Boundary Condition Type and enter the values.
The variables for analysis conditions/material properties/boundary conditions/body attributes can be entered on each tab.
-
The tabs in the dialog box will vary depending on the solvers and the analysis conditions.
|
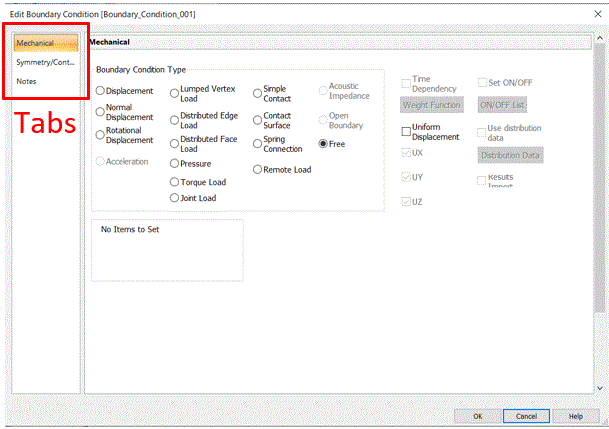
An Example of [Edit Boundary Condition] Dialog Box |
-
Click
|
|
|
|
|


