Home / Tutorial / Electric Analysis (Coulomb) / 05.Set the Body Attributes and the Material Properties
05.Set the Body Attributes and the Material Properties
We assign names to the body attributes and the material properties. Various parameters associated with them will be set up here, too.
The body attribute is required to be set on each body. Various specific data, such as the thickness in the 2D analysis, the width of the wire element, the coordinates for anisotropic material, can be set on the body attribute.
Body attribute is distinguished by its name. Therefore it is not allowed to assign the same name to the different body attributes.
Material property constitutes the body. The material data might vary depending on the simulation you try.
Material property is distinguished by its name. Therefore it is not allowed to assign the same name to the different material data.
Procedure
-
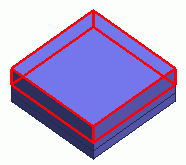
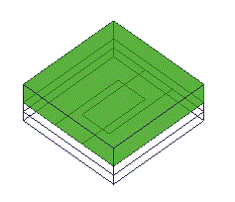
Assign a name to the upper material.Highlight the upper material on the and click to select.
-
Rest the mouse pointer on the overlapping area, and press the <Tab> key.
The body selection list will appear. Select the body of your interest and left-click to fix the selection.
-
For more information, see How to Select Bodies and Topologies where you will find [Clicking the Mouse] and [List Selection Method].
|
|
-
On the [Attribute] context tab
 , ,
click [Body Attribute/Material Property]  . .
|
|
-
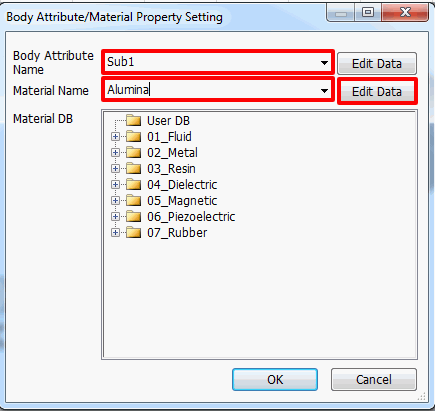
In the [Body Attribute/Material Property Setting] dialog box, enter
Body Attribute Name: Sub1
Material Name: Alumina
and click  . .
-
In this example, no data editing is required for the body attribute, as the default values are acceptable.
|
|
-
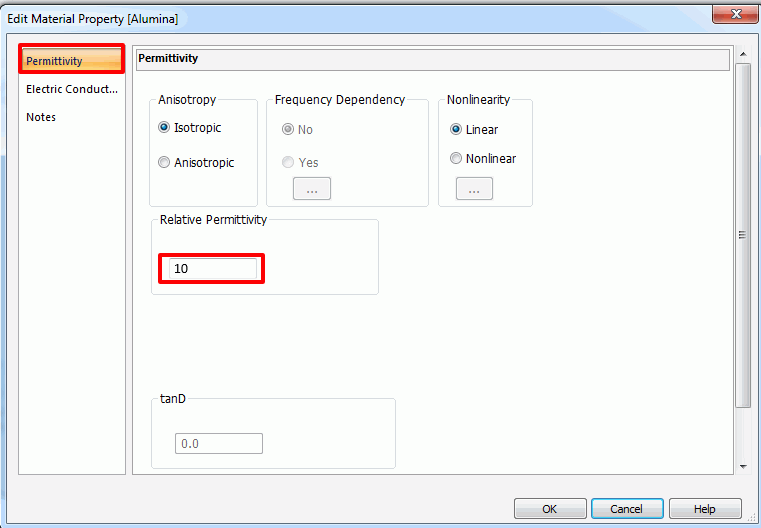
In the [Edit Material Property [Alumina]] dialog box,
enter Relative Permittivity: 10
and click  . .
Then click in the [Body Attribute/Material Property Setting] dialog box and exit.
-
Material DB (Database) is readily available in Femtet for standard materials such as iron, copper etc.
See [Material DB] on the Project Tree for the detail.
|
|
-
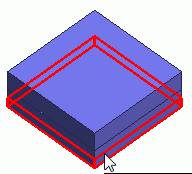
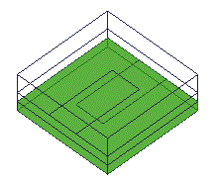
Assign a name to the lower material.
Highlight the lower material on the modeling window and click to select.
|
|
-
On the [Attribute] context tab
,
click [Body Attribute/Material Property] .
|
|
-
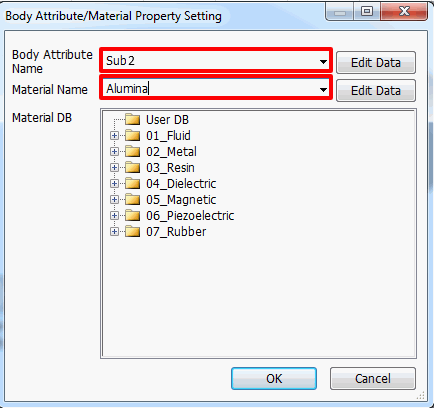
In the [Body Attribute/Material Property Setting] dialog box,
enter Body Attribute Name: Sub2
select Material Name: Alumina
on the pull-down menu and click .
-
Any name is acceptable.
-
In this example, no data editing is required, as the default values are acceptable.
|
|
-
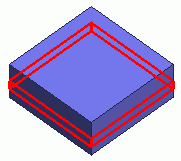
Assign a name to the air domain.
Highlight the air domain on the modeling window and click to select.
|
|
-
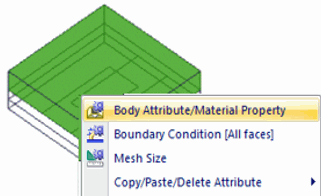
Try the right-click menu this time.
Select the box of air domain and right-click the mouse.
On the right-click menu, click [Body Attribute/Material Property].
|
|
-
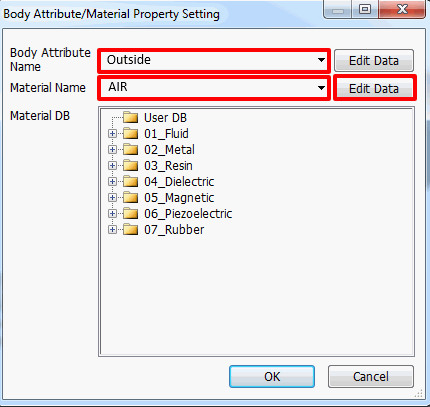
In the [Body Attribute/Material Property Setting] dialog box, enter
Body Attribute Name: Outside
Material Name: AIR and click .
-
In this example, no data editing is required for the body attribute, as the default values are acceptable.
|
|
-
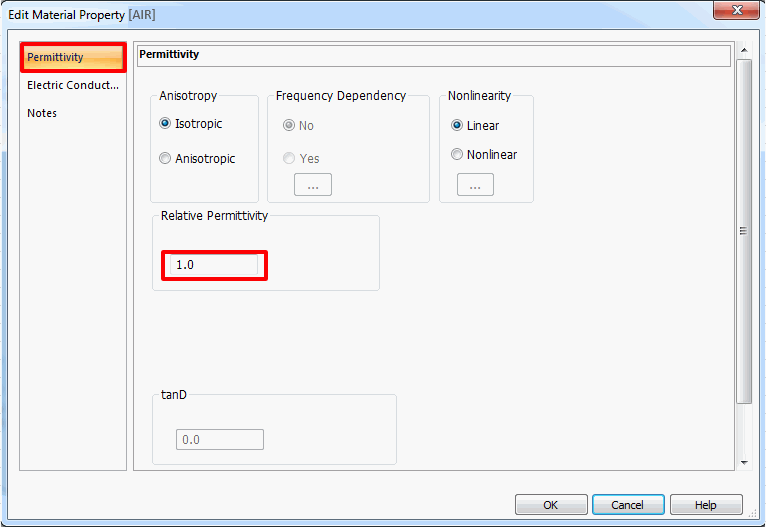
In the [Edit Material Property [AIR]] dialog box,
enter Relative Permittivity: 1
and click .
Then click in the [Body Attribute/Material Property Setting] dialog box and exit.
|
|
|
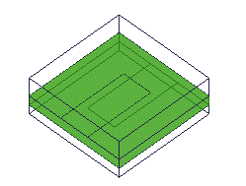
The body attributes and the material properties have been set.
|
|



 Prev Next