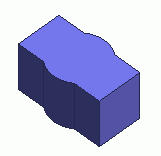
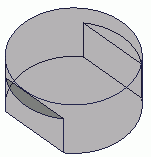
A rectangle and a circle are created, united, and extruded to create an inner case frame.
-
Hide the outer case frame first.Highlight the outer case frame on the and click to select.
|
|
-
On the [Model] tab, go to
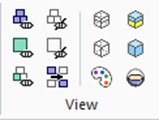
and click [Hide Selected Bodies]  . .
|
|
-
On the [Model] tab, go to 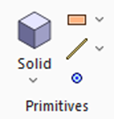 and click [Rectangle [Specify Length]] and click [Rectangle [Specify Length]]  . .
|
|
|
-
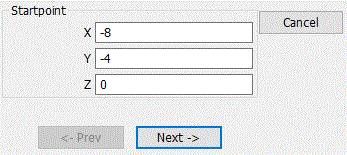
Designate the startpoint.
In the parameter input dialog box, enter Startpoint (X:-8, Y:-4, Z:0) and click  . .
|
|
|
-
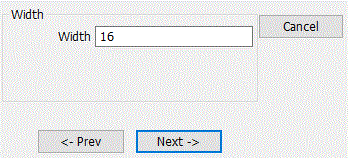
Set the width.
Enter Width: 16 and click .
|
|
|
-
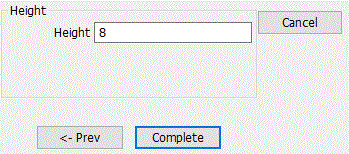
Set the height.
Enter Height: 8 and click  . .
|
|
-
Click  in the parameter input dialog box and exit. in the parameter input dialog box and exit.
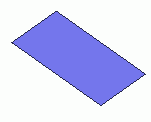
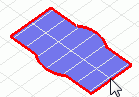
A rectangle has been created.
|
|
-
Let's create a [] using the menu button
On the [Model] tab, go to and click ▼ at the side of [Sheet Body] .
Click [Circle]  on the submenu. on the submenu.
|
|
-
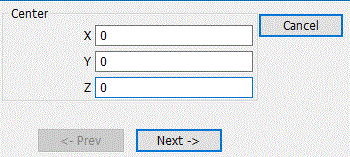
Designate the center.
In the parameter input dialog box, enter Center (X: 0, Y: 0, Z: 0) and click .
|
|
|
-
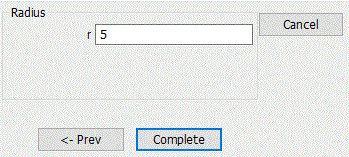
Set the radius.
Enter Radius: 5 and click .
|
|
-
Click in the parameter input dialog box and exit.
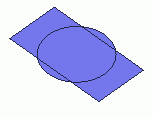
A circle has been created.
|
|
-
Unite the rectangle and the circle
On the [Model] tab, go to
and click [Boolean Unite]  . .
Alternatively, while the bodies are being selected, right-click the mouse and click [Boolean] - [Unite].
|
|
-
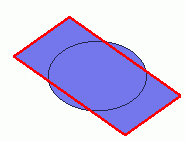
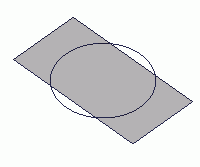
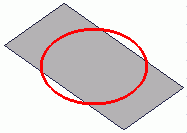
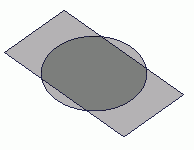
Highlight the rectangle and the circle and click to select.
-
For more information,
see How to Select Bodies and Topologies
where you will find [Clicking the Mouse] and [List Selection Method].
|
|
|

Click |
|
|
Highlight |
|
Selected |
|
|
Ctrl+click |
|
|
Highlight |
|
Selected |
|
-
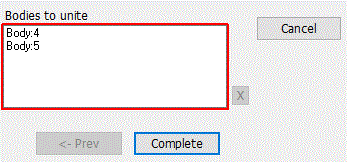
Click in the [Unite (Boolean)] dialog box.
|
|
-
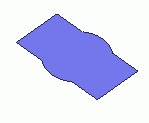
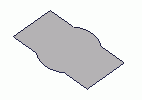
The rectangle and the circle have been united
|
|
-
Let's stretch the united body.
On the [Model] tab, go to
and click Select Body at  . .
|
|
-
On the [Model] tab, go to
and click [Extrude]  . .
Alternatively, while the bodies are being selected, right-click the mouse and click [Deform]-[Extrude] - [Extrude].
|
|
-
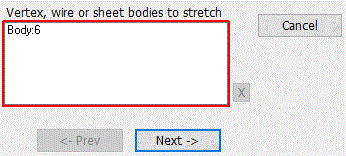
Highlight the body which was united at step 15 and click to select.
|
|
-
Click in the parameter input dialog box.
|
|
-
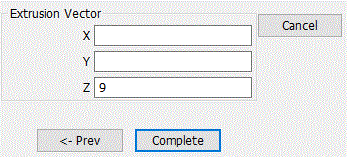
Enter the extrusion vector (X: 0, Y: 0, Z: 9) and click .
|
|
|
The inner case frame has been created.
|
|


 Prev Next