Home / Tutorial / Modeling / 16.Create the Keys
16.Create Keys
Let's create additional keys on upper area of the bottom case.
Procedure
-
On the [Model] tab, go to 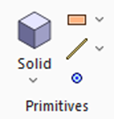 , click [Solid], and select [Box [Specify Length]] , click [Solid], and select [Box [Specify Length]]  on the submenu. on the submenu.
|
|
|
-
Designate the startpoint.
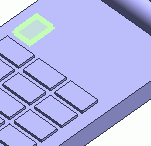
In the parameter input dialog box, enter Startpoint (X: 5, Y: 61, Z: 9) and click  . .
|
|
|
-
Enter Width: 7 and click .
|
|
|
-
Enter Depth: 10 and click .
|
|
|
-
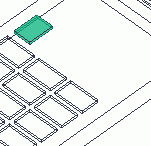
Enter Height: -1 and click  . .
|
|
-
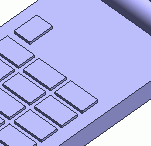
Click  in the parameter input dialog box and exit. in the parameter input dialog box and exit.
|
|
-
Execute Copy.
On the [Model] tab, go to
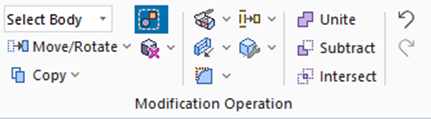 , ,
click ▼ at the side of [ Copy], Copy],
and click []  on the submenu. on the submenu.
|
|
-
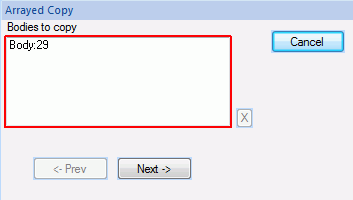
Highlight and select the box created at step 6.
|
|
-
Click in the parameter input dialog box.
|
|
-
Enter Pitch: 33 and Number: 1 in [Copy setting in the 1st direction], and click .
-
Enter Pitch: 10 and Number: 1 in [Copy setting in the 2nd direction], and click .
-
Enter Pitch: 0 and Number: 0 in [Copy setting in the 3rd direction], and click .
-
Click in the parameter input dialog box and exit.
|
|
|
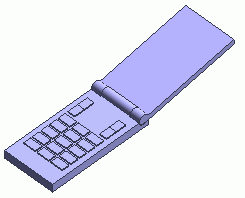
The keys are ready now.
|
|



 Prev
Prev